Do-it-yourself
flash diffuser for macro photography
Uploaded 29. Jan. 2012
I strongly disliked flash
photography for quite a long time. Since a flash generates
hard, unnatural light and distinct shadows, I was avoiding
the use of a flashgun at all costs. I thought - and still
think - that the natural, available light is much nicer and
more pleasant than any artifical light source.
While any semi-translucent white material can be used as a diffuser, we wanted a light, foldable version specifically for macro photography.
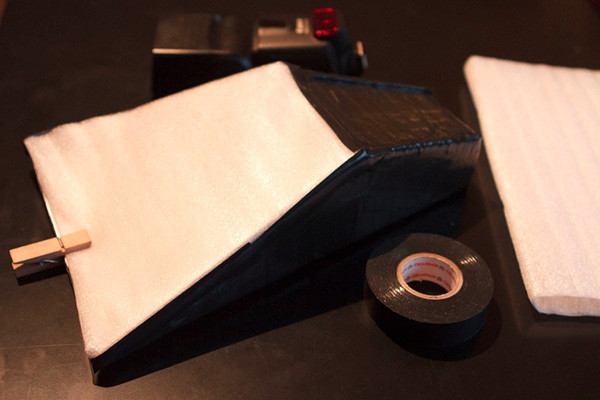
Finally, find some diffusing material like white synthetic
foam, styrofoam or sandwich paper. Your choice of material
will influence the amount of transmitted light as well as
possible colour casts (which both can be corrected via flash
compensation and white balance, respectively). Try to find a
material that suits your needs best and use it use it to
cover the whole front opening. We cut out a piece of white
foam packing, which can be wedged into the opening. The only
thing to hold it in place is a peg. This way, the white
diffuser is not permanently fixed onto the cardboard
construction and so the whole setup can be folded up
sideways to nicely fit into any camera bag.
Why a flash can be useful
There are, however, quite a number of situations where the available light just isn't enough. This is often true for macro photography: if you're working on real close-ups, your depth of field becomes increadibly narrow. This means you have to close down the aperture to get a decent range of sharpness, which results in prolonged exposure times. Things get even worse if the prevailing light conditions are poor: On my first trip to the rainforest I was amazed by all the macro opportunities around me, but at the same time shocked about the bad light conditions with the dense forest canopy blocking out most of the sunlight. So even with a sturdy tripod you can end up with several seconds of exposure - time enough for some little critters to just hop off. In such a situation, a flash would be of great help. But the negative aspects of flash photography mentioned above still prevail: hard contrasts, harsh shadows and annoying reflections on your subject can diminish the benefits of a shorter exposure. This is where a flash diffuser comes in: the diffuser softens the light of your flash and distributes it more equally around your subject, thus preventing hard shadows.While any semi-translucent white material can be used as a diffuser, we wanted a light, foldable version specifically for macro photography.
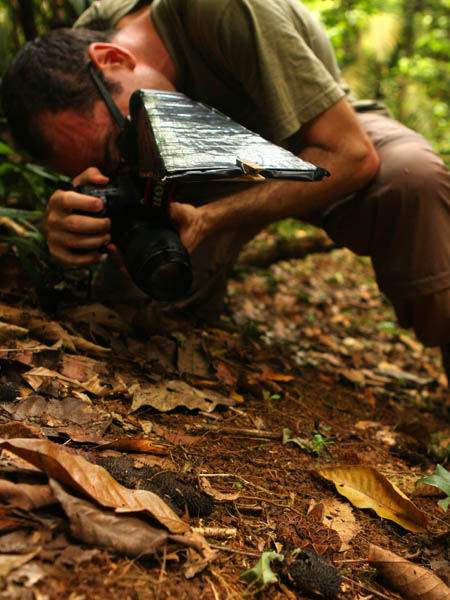
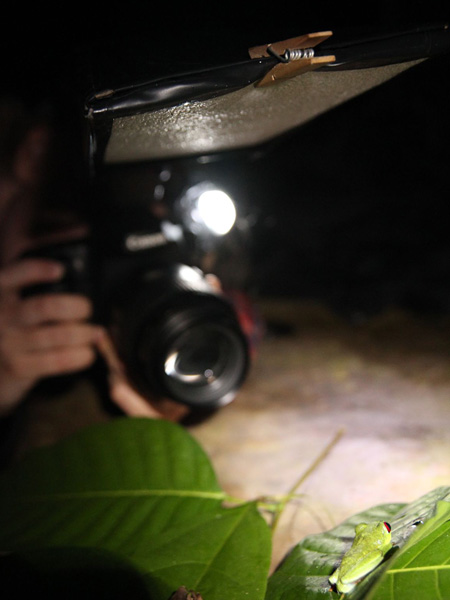
Flash diffuser used in the
dim light conditions of a tropical rainforest.
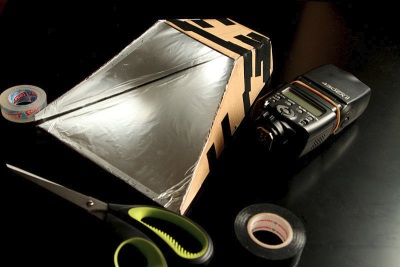
DIY Flash diffuser
A do-it-yourself flash diffuser is very easy and cheap to make. We just used some cardboard, aluminium foil, electrical tape and a bit of white foam packing. The following manual refers to a diffuser explicitly built for a Canon Speedlight in combination with a 100mm macro lens - but since all external flashes of the major brands have both roughly the same shape and a tiltable head, this setup will work for a wide variety of flash/lens - combinations. Here's how to do it: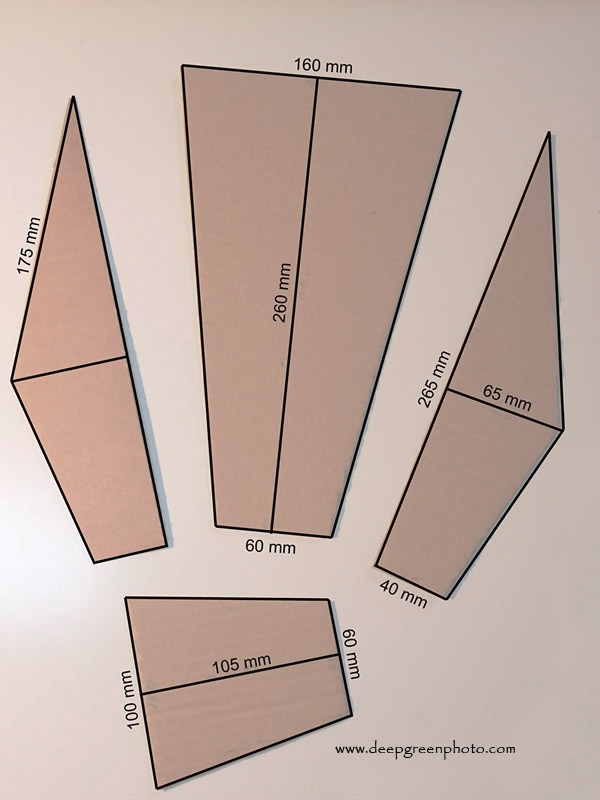
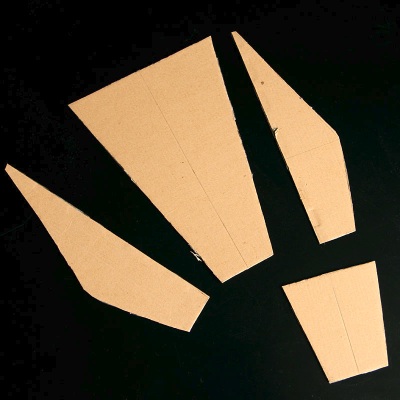
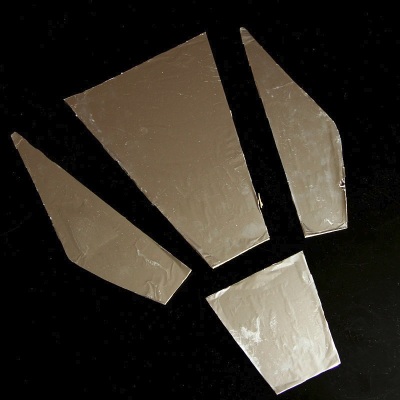
First, find some light but
durable cardboard and cut out the four pieces forming the
bottom, sides and top of the diffuser.
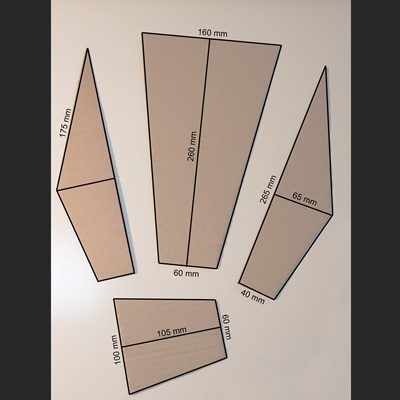
The left image shows a sketch including the dimensions of the pieces (click on image to enlarge).
The left image shows a sketch including the dimensions of the pieces (click on image to enlarge).
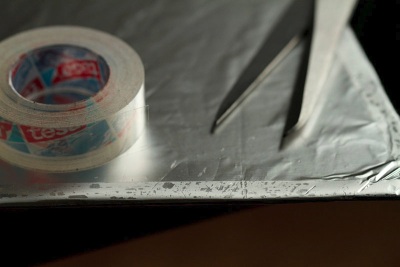
Gluing aluminium foil on
the inside of the cardboard will reflect the light from
the flash towards the diffuser.
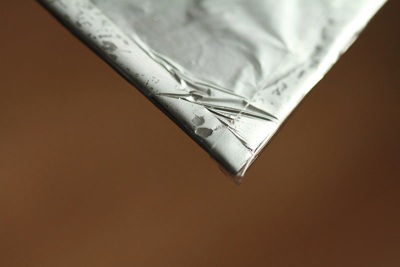
Hint: If you crumple up the foil before gluing it on, this will increase the diffusing effect.
Hint: If you crumple up the foil before gluing it on, this will increase the diffusing effect.
Use adhesive tape to
further fix the aluminium to the cardboard and prevent the
foil from peeling off at the edges.
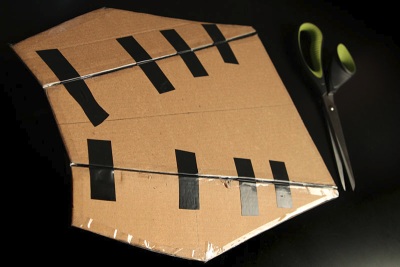
Connect the big top piece
with the adjacent sides using electrical tape, then add
the bottom piece to complete the cylinder. If you leave a
small gap between the cardboard pieces, the whole
construction remains foldable and can thus be stowed away
easily. Be generous with the tape, since it gives your
diffuser some degree of water repellence. We ended up
covering the whole exterior of the apparatus with
electrical tape and the diffuser survived a four-month
long stay in the humid tropics.

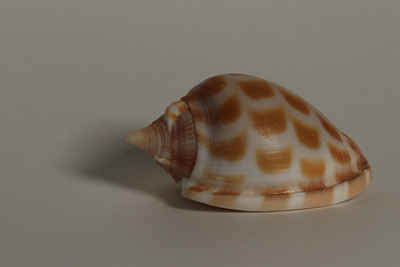
The left picture was taken with a bare flash - note the harsh shadows and the specular highlight on the shell.
The picture on the right was taken using a flash with here described self-made diffuser; both shadows and reflections are noticeably reduced, the lightning is more homogeneous.
Have fun building your flash-diffuser!